

Contribute to Neurodesk.org
This page walks through the process of submitting a new tutorial or amending an existing page, from forking the repository to opening a pull request.
Two companion pages cover the details:
- Local Development — install the tools and preview the site in your browser.
- Markdown Reference — the syntax and components available when writing a page.
The short version
Section titled “The short version”If you have contributed to a GitHub project before, this will be familiar:
- Fork neurodesk.github.io-astro and clone your fork.
- Create a branch.
- Add or edit pages under
src/content/docs/, and images underpublic/. - Preview with
pnpm dev. - Commit, push, and open a pull request.
The rest of this page explains each step.
1. Fork the repository
Section titled “1. Fork the repository”Begin by creating a copy of our documentation that you can edit:
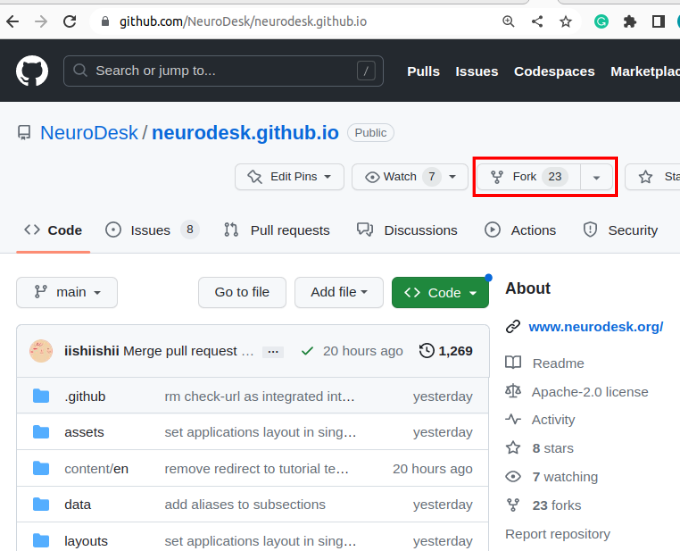
- Visit the GitHub repository for the Neurodesk documentation.
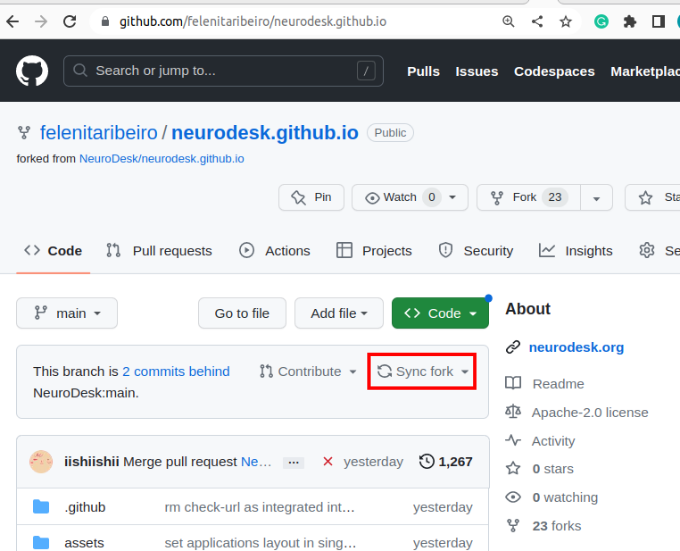
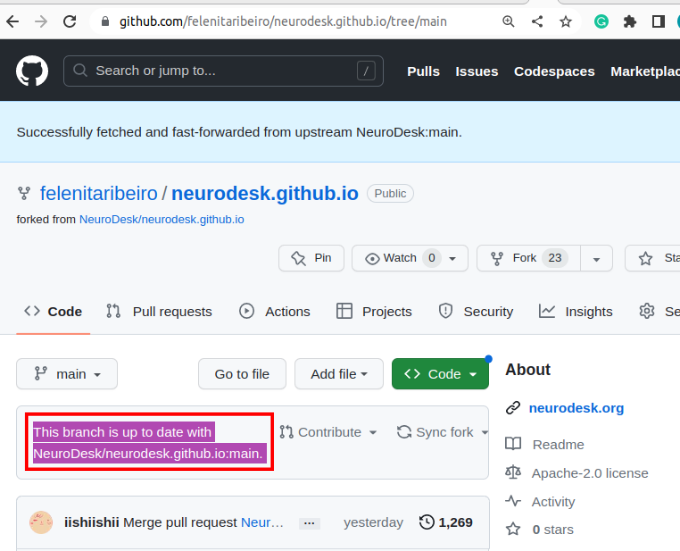
- Fork the repository.
2. Clone your fork
Section titled “2. Clone your fork”Clone your fork to a location of your choice. This step is the same on macOS, Windows, and Linux.
Using SSH:
git clone git@github.com:<your-username>/neurodesk.github.io-astro.gitOr using HTTPS:
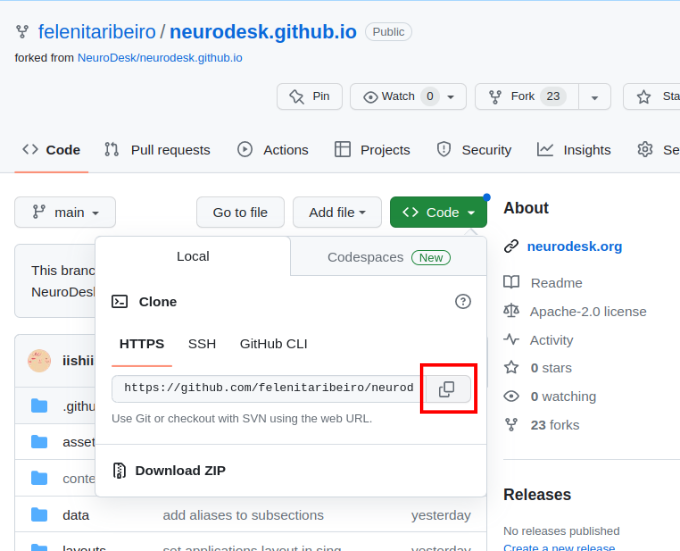
git clone https://github.com/<your-username>/neurodesk.github.io-astro.gitThe URL for the repository can be copied by clicking on the button highlighted below:
Open your copy using the editor of your choice — we recommend VS Code.
3. Create a branch
Section titled “3. Create a branch”Before making changes, create a new branch
so your work stays separate from main. Name it after what you are doing.
-
Create and switch to the branch in one command:
Terminal window git checkout -b tutorial-template -
Confirm you are on it — the current branch is marked with an asterisk:
Terminal window git branch
4. Set up the local preview
Section titled “4. Set up the local preview”Install the tools and start the dev server so you can see your changes as you write. Full instructions, including how to install Node.js and pnpm, are in Local Development.
Once set up, it is two commands:
pnpm installpnpm devLeave the server running at http://localhost:4321 while you work; it reloads as you save.
5. Write your content
Section titled “5. Write your content”-
Navigate to where your content belongs. All pages live under
src/content/docs/, and a file’s path there becomes its URL.For example, a new tutorial goes in
src/content/docs/learning-resources/tutorials/, inside the subfolder that best fits your topic (e.g./functional-imaging). -
Create an appropriately named file — for a tutorial about physiology,
physio.md. Use the.mdxextension instead if you want to use components such as<Steps>or<Tabs>. -
Add frontmatter at the very top of the file:
---title: My Tutorialdescription: A short summary used for search results and social previews.--- -
Write your content. See the Markdown Reference for the available syntax, and look at existing tutorials for inspiration.
-
Store any images in
public/, mirroring the folder structure of your content file. Reference them without thepublicprefix, e.g./learning-resources/tutorials/my-tutorial/image.png.
6. Open a pull request
Section titled “6. Open a pull request”-
Confirm the site still builds. This catches broken links and invalid frontmatter that the dev server tolerates:
Terminal window pnpm build -
To avoid merge conflicts, bring your branch up to date with
main(on GitHub check that your fork is synced, then locally check outmainand rungit pull):Terminal window git rebase mainYou might have to resolve some merge conflicts, but VS Code makes it easy.
-
Commit your changes and push them to GitHub:
Terminal window git add .git commit -m "Document PhysIO tutorial"git push origin tutorial-template -
Navigate to your fork on GitHub and switch to the branch with your additions.
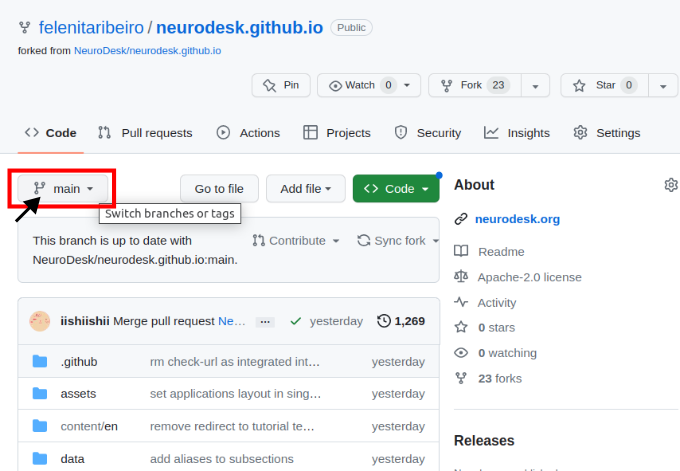
-
Click “Compare & pull request”, then “Create pull request”.
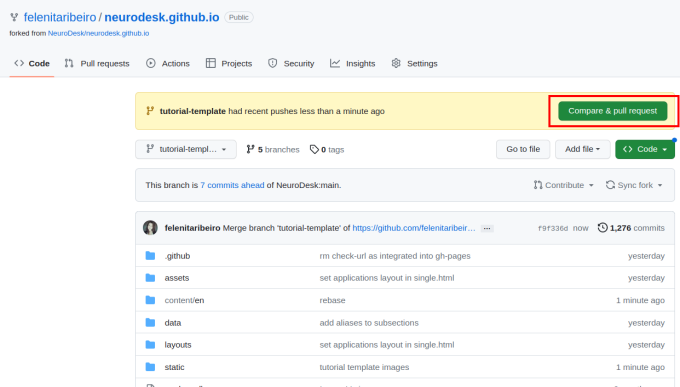
-
Give your pull request a title (e.g. “Document PhysIO tutorial”), leave a comment briefly describing what you have done, and create it.
-
Someone from the Neurodesk team will review your changes, and they will appear on our website once merged.
Thanks so much for taking the time to contribute content to the Neurodesk community. If you have any feedback on the process, please let us know on GitHub discussions.
Need help?
Section titled “Need help?”If you have questions or would like feedback before submitting:
- Open a discussion
We appreciate your contribution to the Neurodesk community and reproducible science.